Unityxyz
Coroutines-007-Making our clock using coroutines.
Project Files for the course - Download
1.1 Introduction
1. In this tutorial we are going to learn how to design a clock using coroutines in Unity.
2. First we will use editor scripting to design the clock.
3. Then we will learn about how we can run this clock using the coroutine.
4. To Get started open the Scene007 Folder.

1.2 Making clock using Editor Scripting
1. To design the clock we are left with a few tasks.
a. Designing dials that are on the circumference and placing them around the circle.
b. Designing minute hand, hour hand and the second hand.
c. We are going to perform both of these tasks using editor scripting.
d. For this let us make a new script called as ClockTimer.
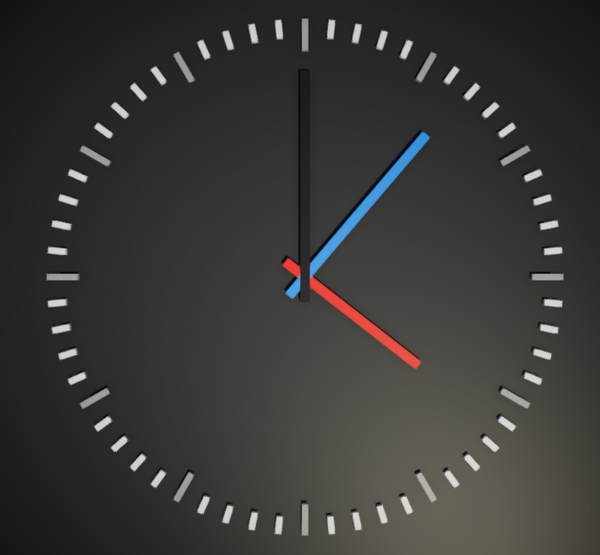
1. Red-Hour Hand.
2. Blue-Minute Hand.
3. Black-Seconds Hand.
4. White Dial on circumference-Represents values of second not divisible by 5.
5. Gray Dial on circumference-Represents values of seconds divislbe by 5.
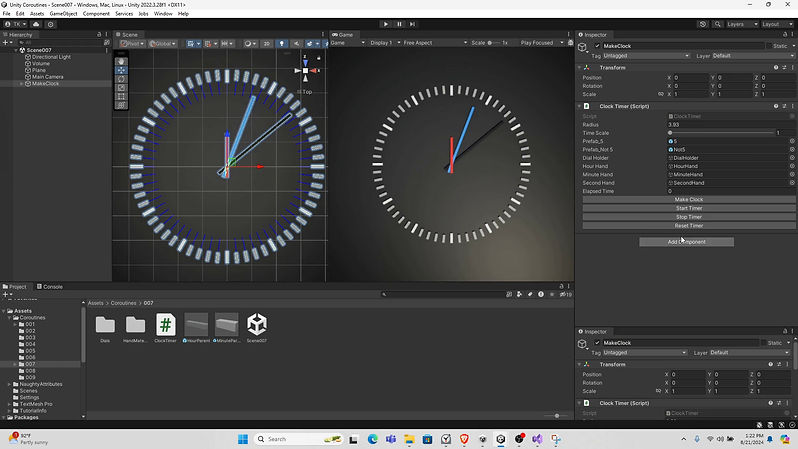
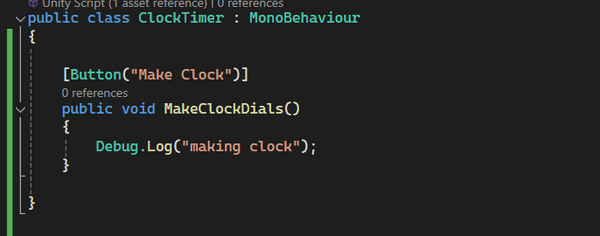
2. In the ClockTimer script let us add a method called as MakeClockDials() which will be responsible for making the clock dials.
3. Currently this does not do anything except printing message on the console whenever the button is clicked.
1.3 Making dials
1. Now let us learn how to design the dials.
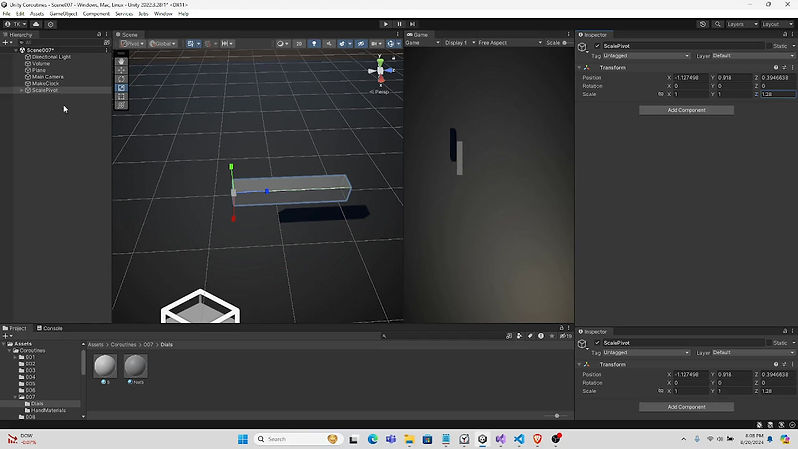
2. This will teach you a very important concept about how to scale and pivot correctly.
3. For this let us first make a cube and make an empty object as its parent.

4. Call the parent as scale pivot since it is going to be used for scaling.
5. Now offset the pivot by 0.5f in the z axis which means that the pivot is going to be aligned with the face.
6. Also scale the cube at 0.2 and 0.2 along the x and y axis so that it represents a rectangle.
6. Benefit of this is that as the pivot and face are overlapping along the z axis means that we can easily scale the pivot along z axis.
7. Let us see how it works in the video below.

8. Let us now make dials that are for numbers divisible by 5 and dials that are for number not divisible by 5 and save them as prefabs.
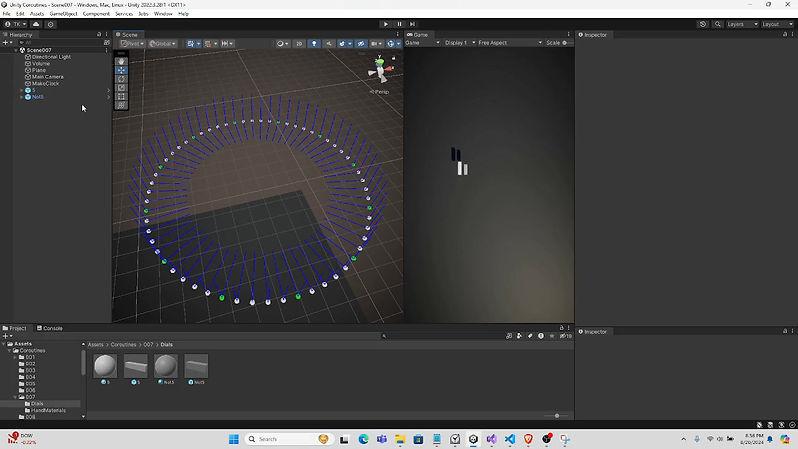
1.4 Visualizing Dial Points
1. Let us now write some code that will help us visualize the dials.
2. Here we are going to learn how to visualize the position of dials relative to the clock.
3. We are going to draw
a. Positions of dials
b. Direction they are facing
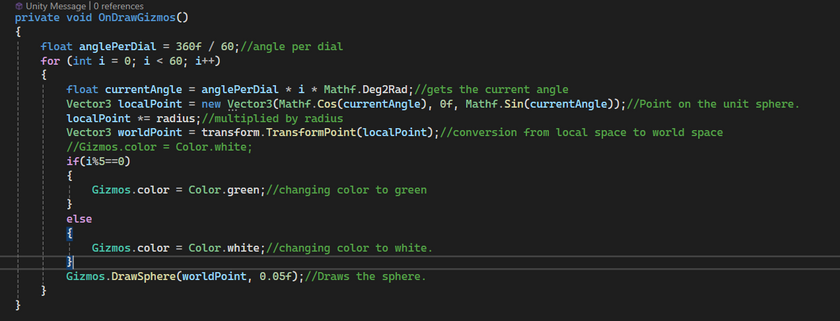
4. To do this we are going to use OnDrawGizmos() method.
Let us take a look at math first
1. We have 60 points
2. Angle per point(deg) = 360/60
3. Angle per point(rad) = (360/60)*Mathf.Deg2Rad
4. Unit Vector depending on the angle
Vector3 unitVector = new Vector3(Mathf.Cos(anglePerPoint),0f,Mathf.Sin(anglePerPoint)).
5. Here we have chosen x and z axis for making unit vectors.
6. To transform the unit vector from local space to world space we are going to use transform.TransformPoint(unitVector*radius) to get the actual world space point.


7. Now let us account for 5 and not 5 hands and draw them in different colors.
8. For this we have to only use the (i%5) check.

9. Let us now draw the inward vector and up vector(relative to clock).
10. For inward vector invert the point vector and transform from local to world space.
11. For up vector transform the up Vector from local to world space.

1.5 Making the clock
1. Let us write the code for making the clock.
2. For this let us first of all copy the visualization code.

3. Add a reference to prefab_5 and prefab_Not5 that is dials that are divisible by 5 and dials that are not divisible by 5.
4. Also add a dialHolder which is the child of clock and all the instantiated dials are going to be its children.
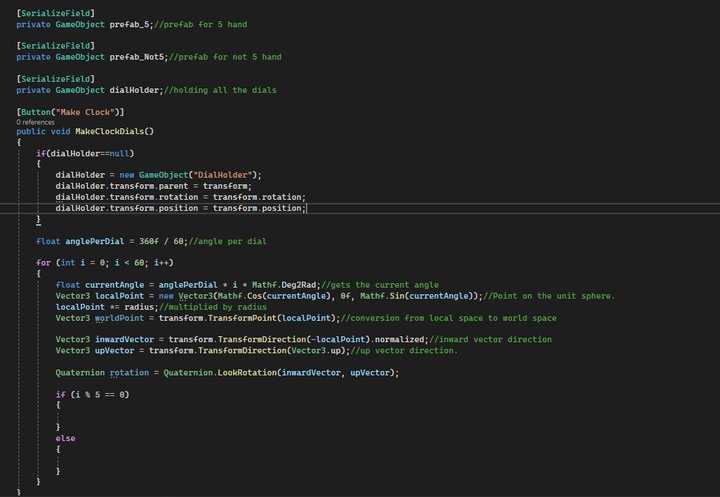
5. Let us now write code to instantiate prefab_5 and prefab_Not5. We also have to make sure that they are under the dialHolder gameObject.

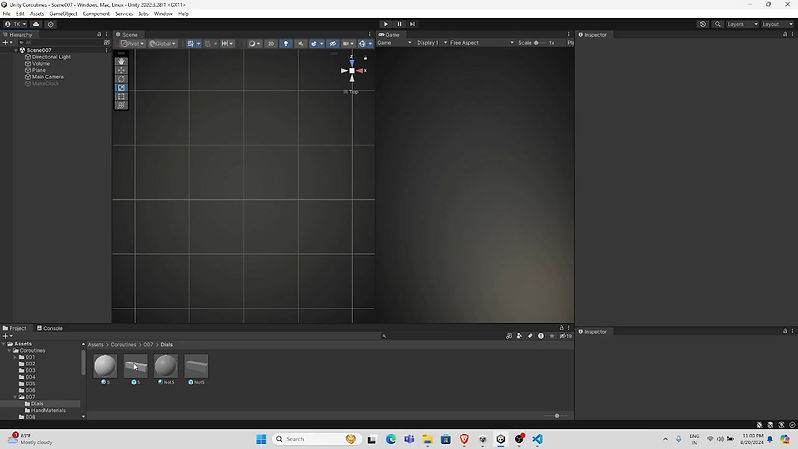
6. Let us test whether we are able to make a clock in the editor.
1.6 Making clock hands
1. To make the clock hand we can reuse the dial hand that we made earlier.
2. But this we also need to adjust the position of the hand.
3. To do that we will make another pivot and we will adjust the child's z position.
4. Let us look at this through a video below.
5. Let us now make second hand, minute hand and hour hand.
6. Set them to different lengths by adjusting the child pivot.
7. We can now make the clock as well.
8. Let us take a look at the video below.

1.7 Making a stopwatch.
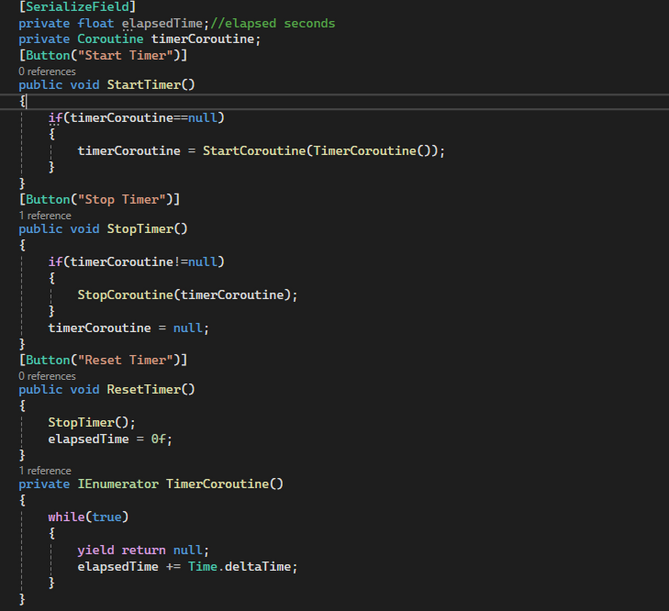
1. Making a stopwatch is fairly simple and we have done this in the previous lecture.
2. We have added three methods to Start() ,Stop() and Reset() and a coroutine that increases the elapsed time.
1.8 Hand movement
1. To move the second hand, minute hand and the hour hand we have to convert the elapsedTime to values of seconds, minutes and hours.
2. Let us first grab reference to all these hands and make a SetHandsMethod().


3. In the SetHands() method we will calculate time for minutes ,hours and seconds based on elapsed Time.

3. Now let us calculate the angles of secondsRotation, minutesRotation, and hoursRotation.

4. Now let us calculate the Look direction for minute hand, second hand and hour hand.

5. Now let us set the orientation of hour hand, minute hand and second hand.

6. Let us now add reference to the ClockTimer script.


7. Let us now set the rotation in the Reset() method.

8. Add another setting to control the speed of time that is timeScale.
9. Use OnValidate() method to change the timeScale from the editor.


10. Let us now test the scene.